TOOLinspect
Highly precise measurement and analysis of a wide variety of surfaces
- High vertical resolution down to the single-digit nanometer range
- High-precision surface measurement results in 3D
- Roughness measurements traceable to standards
- High degree of automation
confovis ⋯ Products ⋯ Measurement systems ⋯ TOOLinspect
TOOLinspect
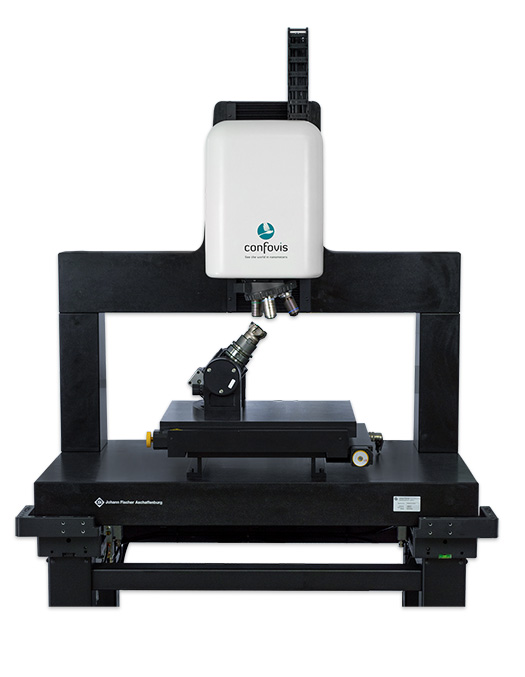
The Confovis TOOLinspect measurement system is an industrial solution for measuring functional surfaces. The combination of patented confocal microscopy and focus variation makes it possible to measure and analyze a wide variety of surfaces in 3D. The confocal measuring technique supports norm-traceable surface measurements down to the single-digit nanometer range. Focus variation, on its part, can also measure geometries on steep flanks (e.g. on cutting tools).
Complex measurement tasks are programmed as an automated intuitive “teach-in” measuring plan. Thus, even users without programming skills can reliably perform new tasks and obtain the measurement results in protocol format. These are displayed as target/actual comparisons and deviations are highlighted in simple traffic light colors.
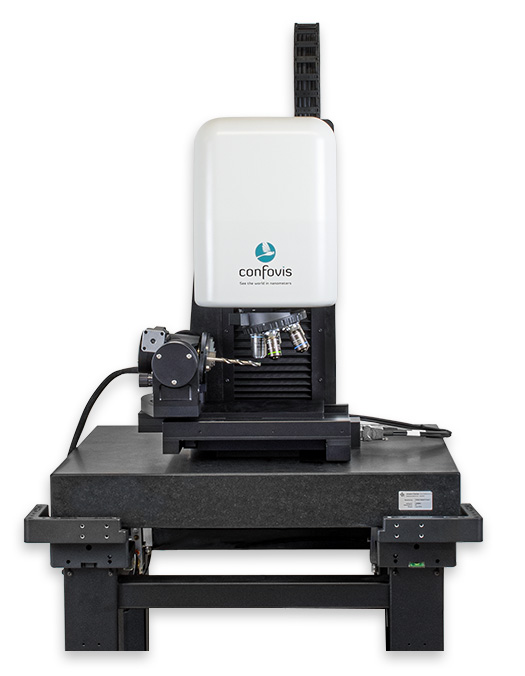
The TOOLinspect measurement system is available in different device sizes and can therefore be adapted to a wide variety of measuring tasks. Parts up to 300 mm long and 330 mm high are mounted on a robust and vibration-damped machine frame.
Fast and precise analysis of demanding surfaces
The quality requirements made on modern functional surfaces are constantly increasing as even the smallest deviations can have a considerable influence on the product properties. Modern functional surfaces are increasingly no longer produced by directed processes (such as turning or grinding), but are coated, for example. This creates randomly distributed structural elements on the surface. It is no longer sufficient to determine roughness parameters such as Ra, Rz, Rpk, Rk and Rvk on the basis of individual profile sections in order to evaluate the function of non-directed surfaces. Rather, it is necessary to assess the surface properties over the entire surface and to describe them, for example, with the surface functional parameters Spk, Sk and Svk as counterparts to the above roughness parameters.
In the past, quality assurance in the production of functional surfaces was reserved for profiling devices. These established measuring instruments produce meaningful and reliable results on directed surfaces with which manufacturing processes can reliably be monitored. If randomly distributed surface defects occur on tribological surfaces, profilometers are no longer helpful. To generate reliable measurements with a profilometer, very long measurement series with many profiles must be recorded and analyzed. Although the profilometer acts almost like a two-dimensional measuring device, it requires a disproportionately long measuring time. Because the probe tip radius is small, the measuring point of the measuring point of the individual profile sections cannot be found again and repositioned. Accordingly, it is not possible to provide proof of measuring equipment capability for complex surfaces.
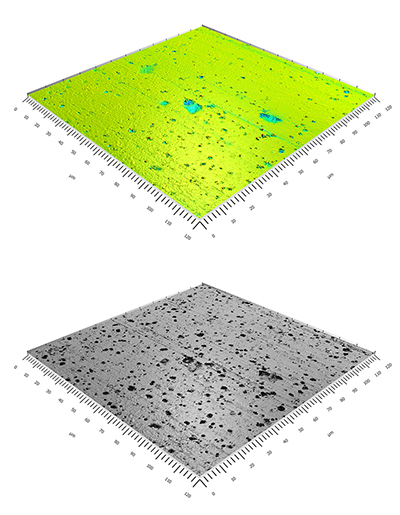
The advantage of the Confovis patented optical measurement method is that real 3D data are generated and thus surface structures are evaluated over a large image section. Machining structures, breakouts, accumulations of grown layer defects and many other details are evaluated by planar parameters, in which TOOLinspect brings its strength to bear especially with highly reflecting and very smooth surfaces and also with transparent layers.
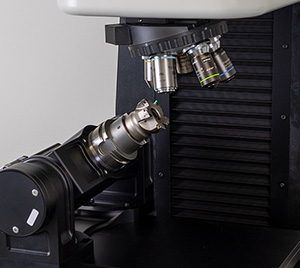
The differentiated signal evaluation allows information to be obtained and evaluated at the boundaries of optically transparent layers, which not only permits the measurement of step heights or layer thicknesses but also the detection of surface defects – such as scratches or other defects from the manufacturing process. Manufacturers of cutting tools can, for example, check milling cutters, taps or indexable inserts not only with regard to shape characteristics such as cutting-edge radius and angle, but can also measure roughness traceably to standard. The measurement of steep flanks and angles is carried out using focus variation, the second measurement method integrated in the device.
With the combination of proprietary measuring software from the manufacturer and market-established evaluation software MountainsMap®, the TOOLinspect measuring system is extremely user-friendly and flexible. The Confovis measuring software creates a 3D point cloud, both with focus variation and confocally measured measurement points, which exclusively displays recorded measuring points. There is no need for software to fill in data points or to filter data. The measuring values are thus available to the user authentically in a coordinate system.
TOOLinspect Applications
- Cutting tools
- Diamond tools
- Mikrofluidics
- Micro-stamped parts
- Injection components
- Coated surfaces
- Piston pins
- Electrical contacts
- Gear wheels
- Additive manufactured surfaces
- Laser structures
TOOLinspect Measurement Tasks
Roughness measurement
Profile-based according to DIN EN ISO 4287/4288 and 13565, as well as area-based according to DIN ISO EN 25178
Step heights
Even with transparent layers
Form and Contour
Angles, heights, widths, radii, target/actual comparisons, etc.
Tribological characteristics
Functional volume parameters
In accordance with DIN EN ISO 25178 (e.g., Vmp, Vmc, Vvc, Vvv parameters)
Cutting edge measurement
Cutting edge quality, edge rounding radius, form, K-factor, height defects
Wear of cutting tools
Texture direction/isotropy, dominating waviness
Advantages of surface analysis with TOOLinspect
- High-precision measurements down to the single-digit nanometer range
- Measurement on reflecting, transparent and diffuse surfaces
- Combined measuring method: Confocal measurement technique and focus variation
- Full data transparency - raw data can be viewed for each individual measuring point
- Artifact-free measurements due to technologically negligible coherence and speckle effects
- No bat wing overshoots at discontinuities
- Roughness measurements traceable to standards
- User-friendly, intuitive, expandable measuring software from Confovis (3 clicks for the measurement, 1 click for the evaluation)
- High degree of automation by measuring plan with "teach-in”
- Short measuring time: Profiles can be recorded in a similar way to a profile device (according to DIN EN ISO 3274)
- 2D and 3D characterization of surface features through fast area scans
- Large selection of evaluations by established analysis software MountainsMap©, GOM©, Cognex, etc.
ARE YOU LOOKING FOR A SOLUTION FOR YOUR APPLICATION?
CONTACT US!
